
The short answer
What to do first
Repair a bare lawn spot by diagnosing why the grass disappeared, correcting that cause, and matching the repair method to the existing grass and the size of the damaged area. Remove loose dead material, expose and lightly loosen the soil, level the patch, apply the selected repair according to its label, and keep the area consistently moist without flooding it.
Treat the cause before the empty soil
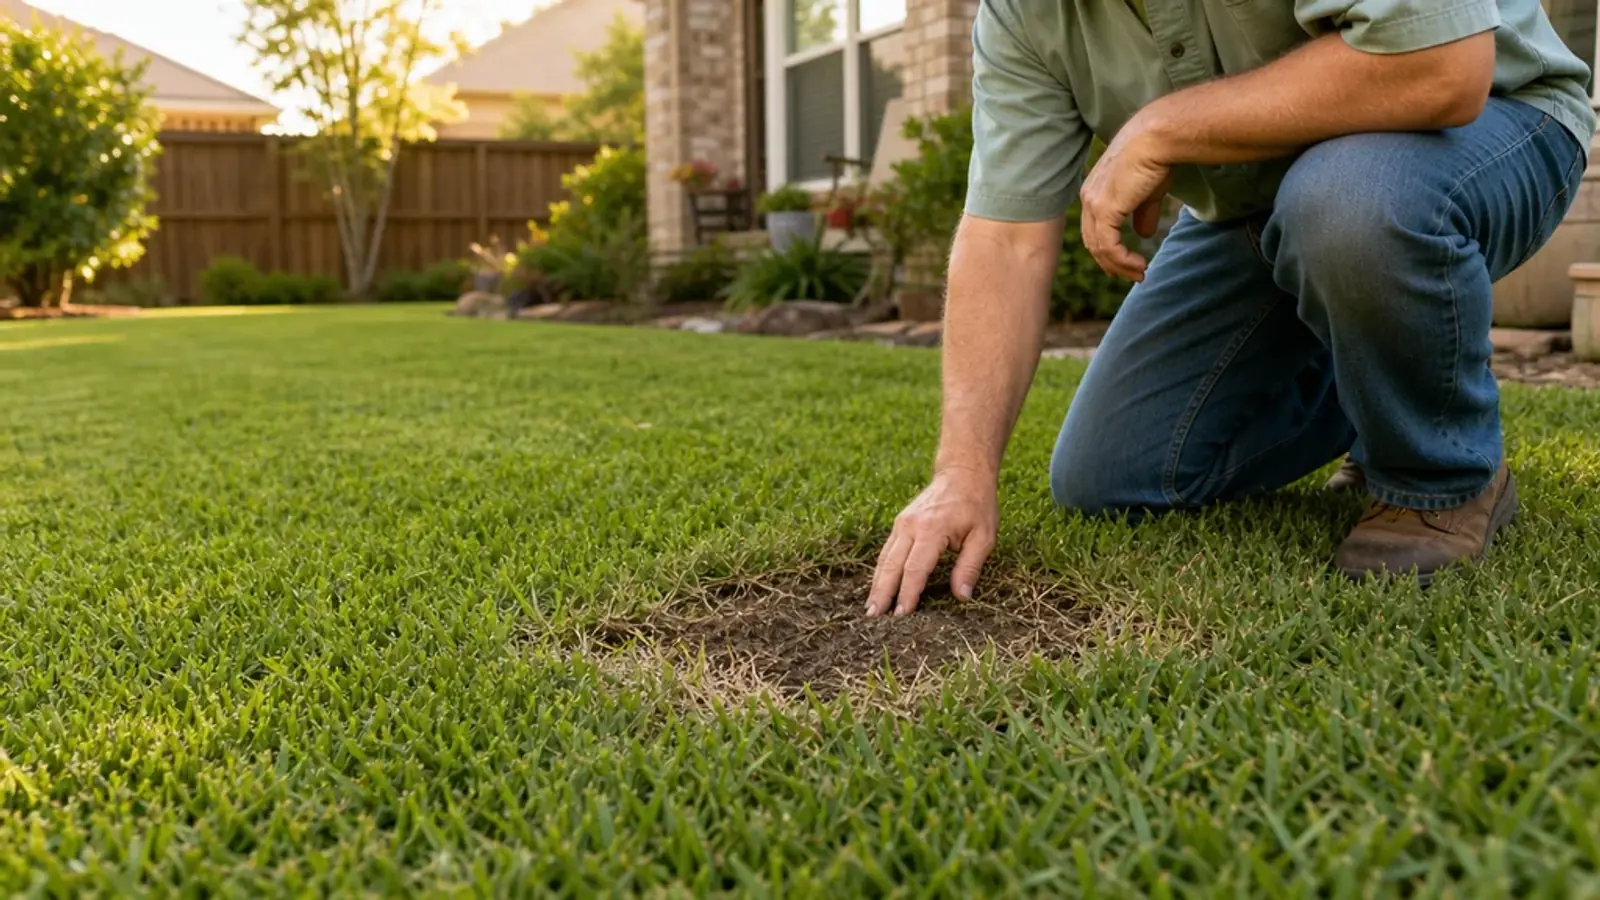
A bare spot is evidence, not a diagnosis. Grass can disappear because the soil stays wet, the ground is compacted, the area receives too little light, a pet repeatedly uses the same location, traffic follows the same path, or a spill damaged the turf. Insects and disease can also leave thin or dead areas, but they often create a wider pattern than one isolated worn spot. Start by asking what is different about this location compared with the healthy lawn around it.
Look at the shape and the edge. A straight worn lane often follows footsteps or equipment. A round straw-colored center with a greener ring can be consistent with concentrated pet urine. Turf that lifts easily may have lost roots. Grass thinning evenly beneath a tree points toward light and root competition. A low area that stays wet after the rest of the lawn dries is a drainage problem. These clues do not replace a local diagnosis, but they keep you from spreading repair material over an active problem.
If the patch keeps expanding, appears suddenly across multiple parts of the yard, smells unusual, contains visible insects, or follows a chemical application, pause the repair. Photograph the pattern and contact a local extension office or qualified turf professional. Repeatedly reseeding a site with an unresolved pest, disease, drainage, or exposure problem wastes time and can make the pattern harder to interpret.
- Compare sun, moisture, traffic, and soil firmness with the surrounding lawn.
- Check whether the damage is stable or still expanding.
- Correct the continuing cause before choosing seed, plugs, sod, or a patch system.
Match the repair to the grass already there
The surrounding turf determines which repair choices can blend into the lawn. Some grasses spread through runners and can move into a small prepared opening during active growth. Others depend more heavily on reseeding. A lawn installed as sod may also be a cultivated variety that does not match the seed sold at a retail shelf. Adding an unknown seed can create a patch with a different color, texture, or growth habit even when both grasses survive.
For Bermuda lawns, identify whether the existing turf is a seeded common type or a vegetatively established hybrid before adding seed. Hybrid Bermuda does not produce viable seed and is normally repaired with matching plugs, sprigs, sod, or growth from the surrounding turf. Cool-season grasses follow a different seasonal rhythm, and warm-season products should not be assumed to fit them. When the grass type is unknown, take close photos of blades, runners, and the overall lawn to a local extension office or reputable garden center.
The repair material should also fit the season. Warm-season grasses establish during active warm growth, while many cool-season lawns are repaired during cooler establishment windows. A bag on the shelf is not proof that the timing is right for your lawn. Confirm the label, local conditions, and the existing turf before disturbing the patch.
Choose seed, plugs, sod, or a patch system by scale
Seed is useful when the grass type can be established from seed, the site is prepared for direct soil contact, and the homeowner can maintain the required moisture. Plugs or sprigs can preserve the identity of a spreading warm-season lawn and are often practical for small openings. Sod supplies immediate cover and can be useful where matching material is available or where exposed soil must be covered quickly. A homeowner patch system organizes a measured repair into a label-directed process, but it still has to fit the grass region and the site.
Measure each bare area rather than estimating from memory. Multiply length by width for a simple rectangle, break irregular patches into smaller shapes, and add the areas together. Do not count healthy turf that will not receive material. Measurement prevents both thin application and waste, and it tells you when several small patches have become a larger project that deserves another method.
Large bare yards, steep slopes, drainage construction, substantial erosion, and major grading are not ordinary patch jobs. Those conditions may require a contractor, site preparation equipment, or professional hydroseeding. The method should follow the physical work, not the other way around.
- Small spreading-grass opening: consider matching plugs, sprigs, or natural fill-in.
- Seed-compatible measured patch: consider seed or a homeowner patch system.
- Instant cover or exact sod match: consider a small sod repair.
- Large, steep, eroding, or heavily graded site: request a professional assessment.
Prepare a level surface with direct soil contact
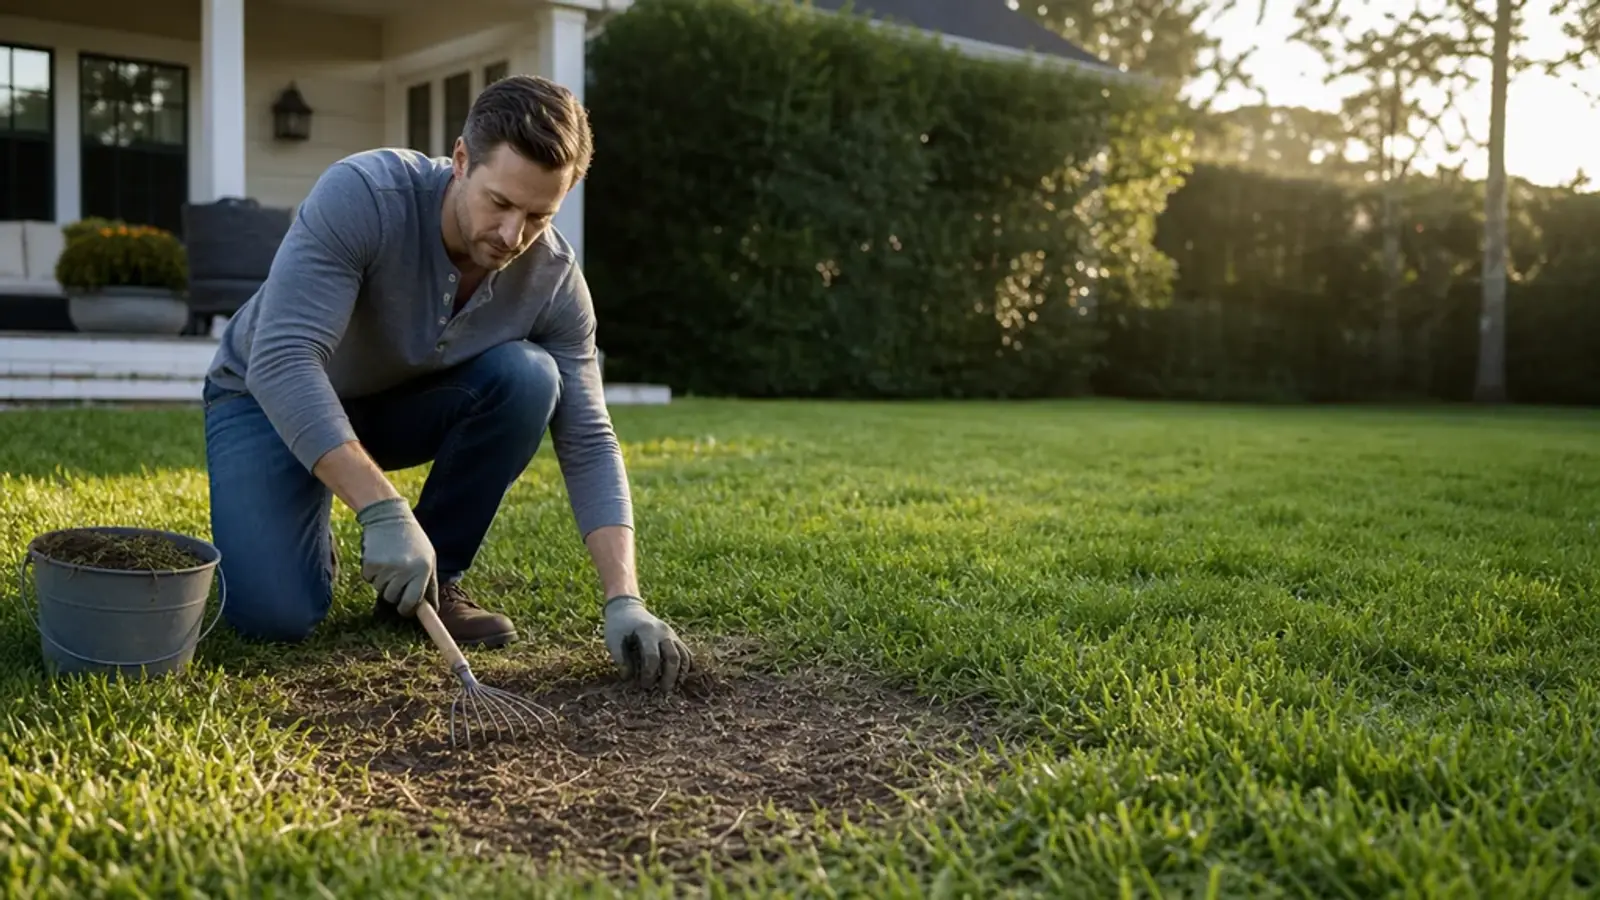
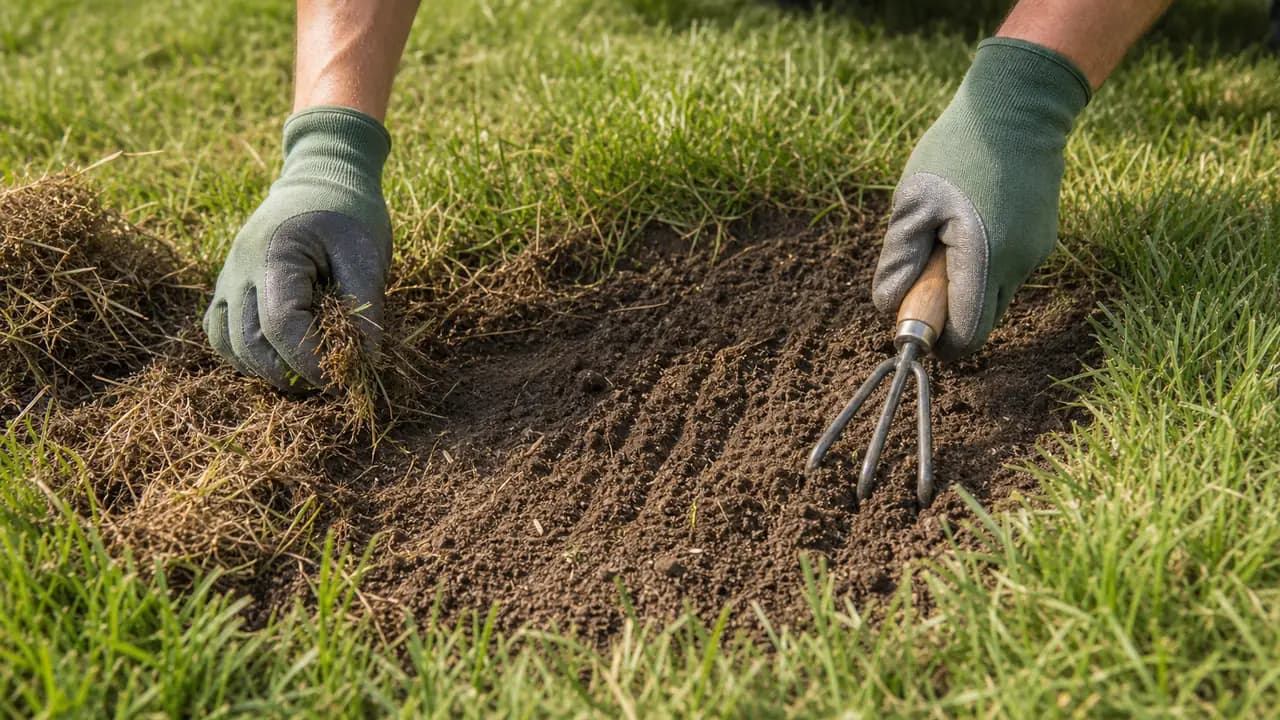
Mark the patch, then remove loose dead grass, leaves, stones, and thatch until you can see the soil. Preserve healthy runners and roots at the edge. Use a hand rake or cultivator to break only the surface crust and create shallow texture. Deep tilling is rarely necessary for a small patch and can leave a depression after loose soil settles.
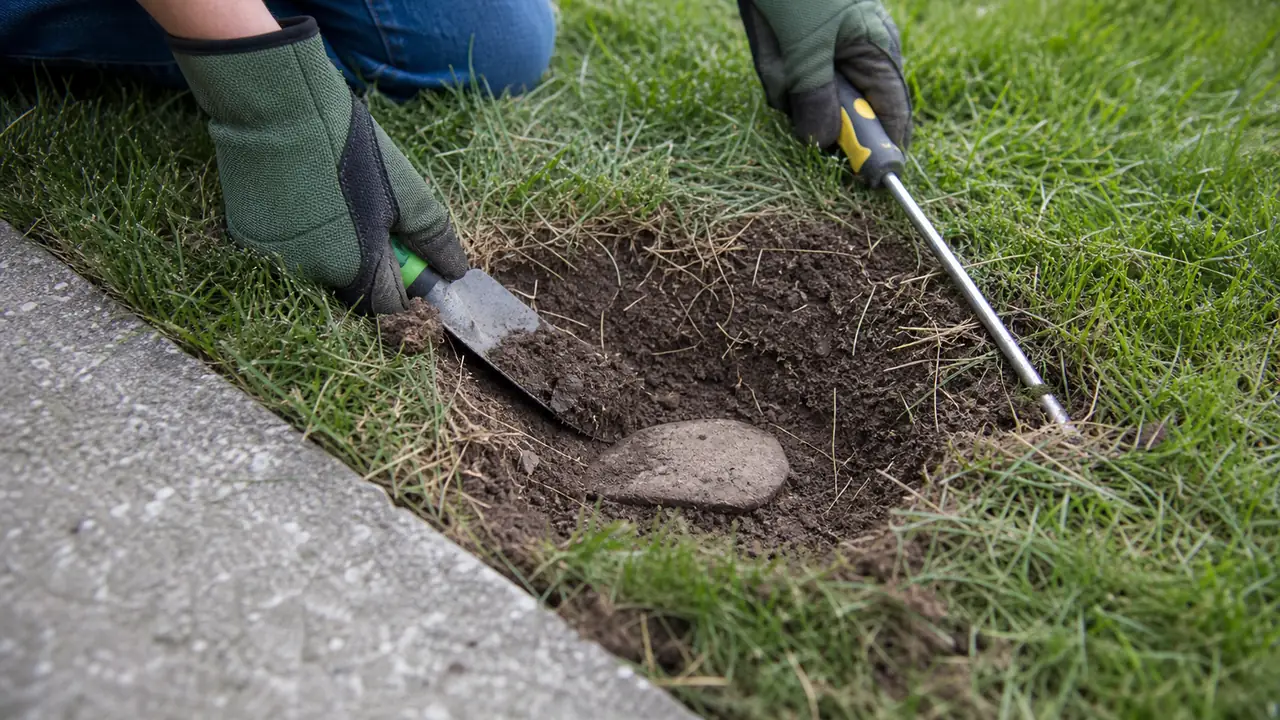
Press a screwdriver into the prepared area and into nearby healthy soil. A dramatic difference can reveal compaction or a buried base. If you uncover concrete, construction fill, large roots, or another obstruction, correct what can be corrected before continuing. Do not cut major tree roots to make room for grass. A root-dense shaded area may need a different groundcover or landscape treatment rather than repeated turf repair.
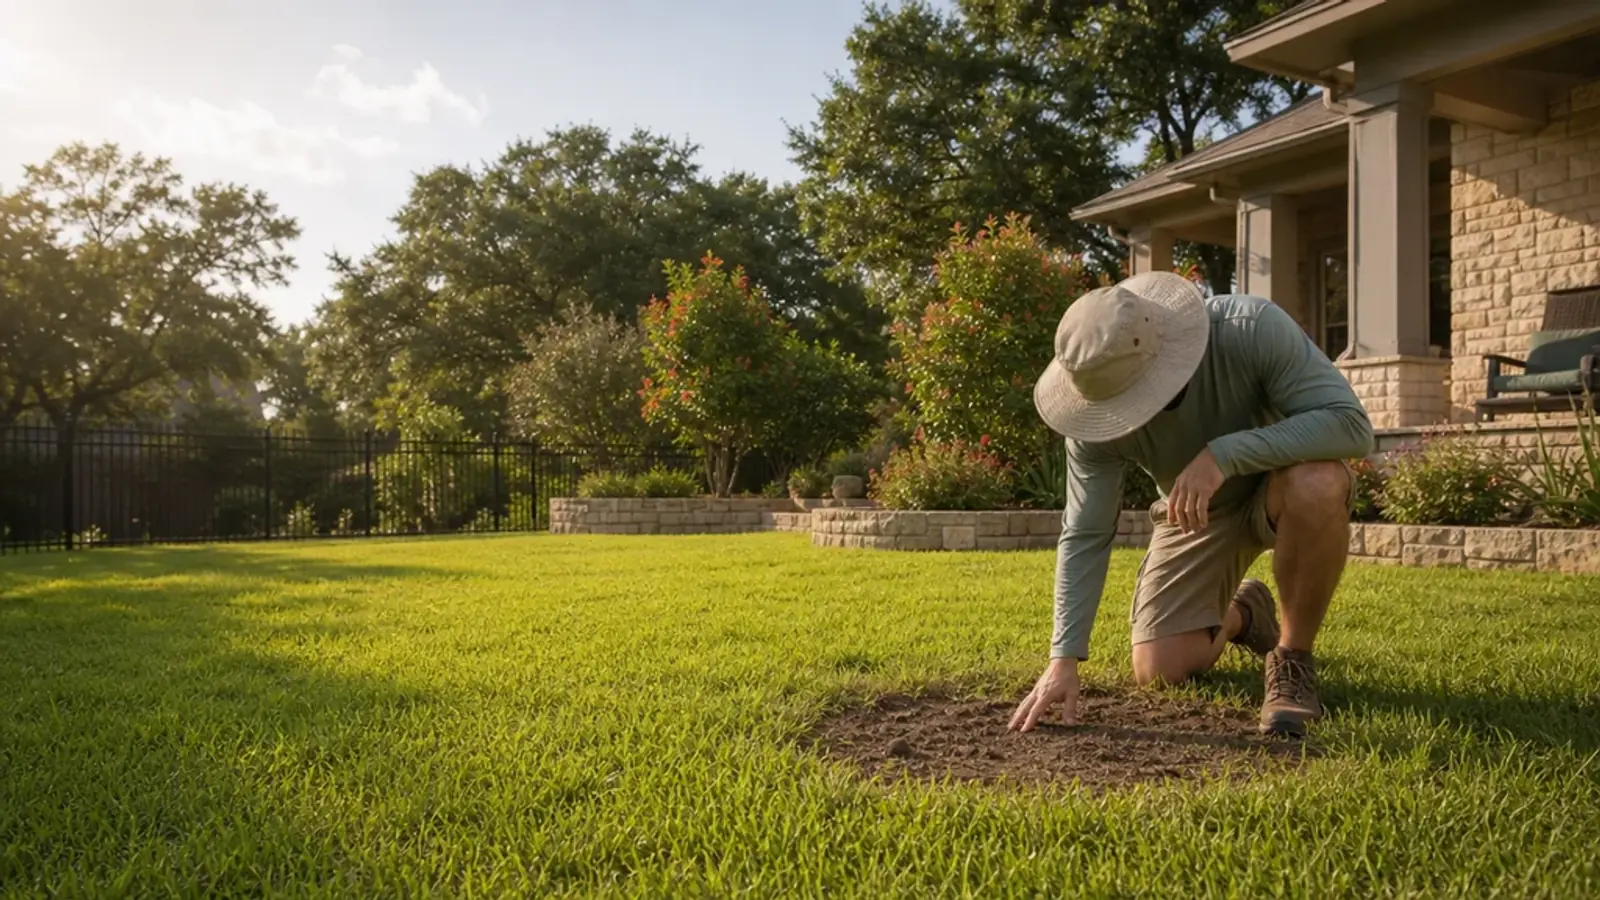
Bring the soil level to the base of the surrounding turf. A low bowl collects water; a mound dries quickly and can be scalped by a mower. Test a small amount of water. It should soak in without immediately pooling or racing across the surface. Once the patch is clear, lightly textured, level, and firm under a hand press, it is ready for the selected label-directed process.
Apply evenly and protect the establishment window
Follow the selected product or planting directions for coverage, placement, and initial watering. More material does not correct shade, poor drainage, incompatible grass, or missing soil preparation. Keep the repair inside its measured boundary and keep neighboring turf from folding over the soil surface while the patch begins to establish.
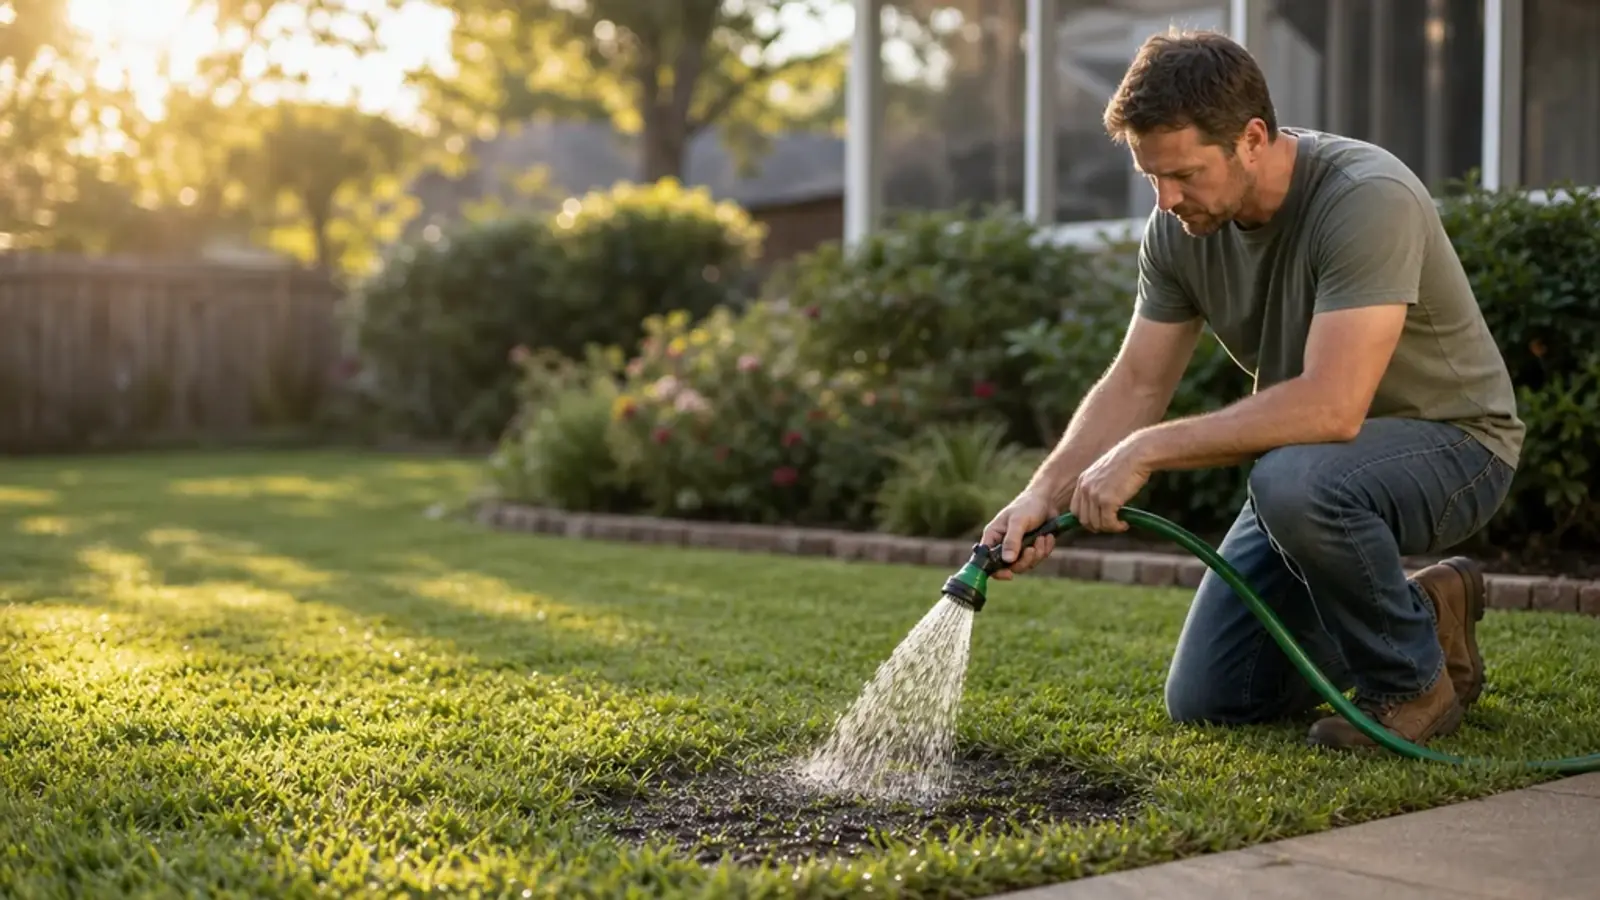
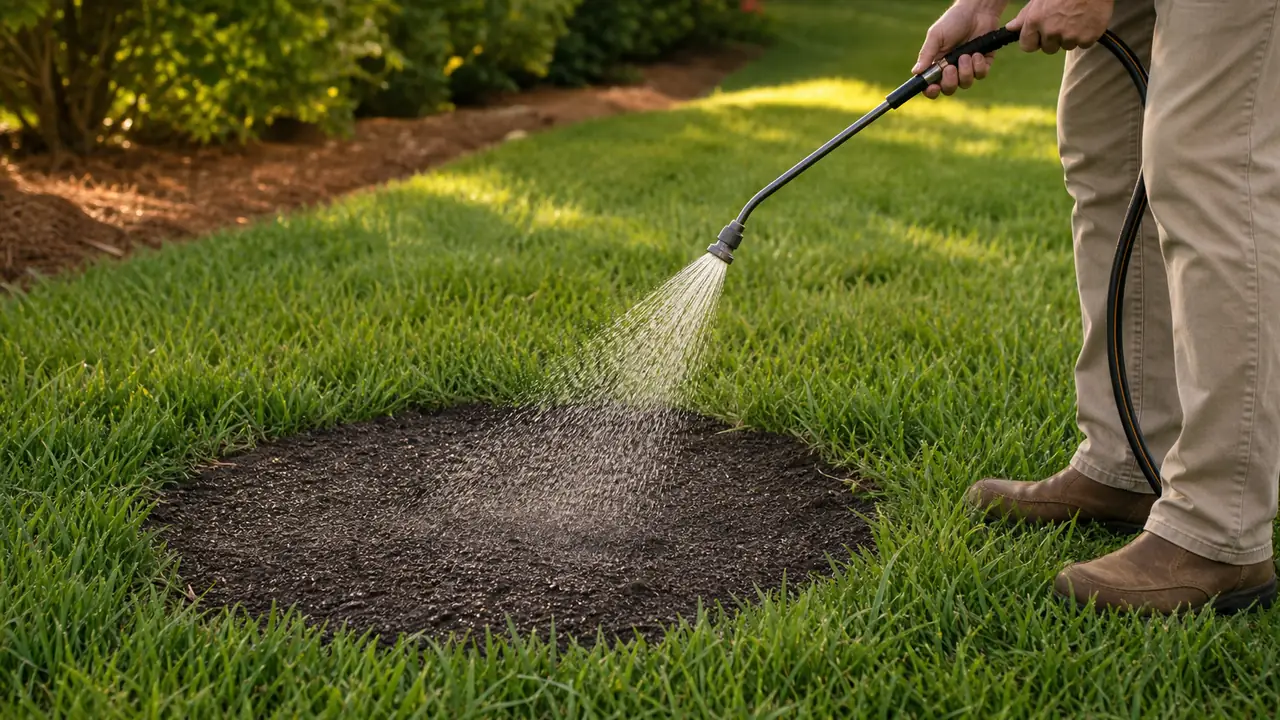
Use a soft shower that moistens the surface without making mud, puddles, or runoff. Check the patch itself rather than assuming the rest of the irrigation zone represents it. Bare soil can dry faster than established turf, but flooding can move material and reduce air in the soil. The label is the authority for frequency and duration; weather and soil observations help you deliver that direction without overdoing it.
Limit foot traffic and keep pets away from the repair. Do not mow the new area until it reaches the height stated by the product or grass guidance, and use a sharp blade when mowing resumes. Early green is a progress signal, not permission to end care. Continue through the directed establishment window and transition gradually to the normal routine for that grass.
If the patch fails again, change the diagnosis
A second failure is useful information. Check whether the material washed away, dried out, never contacted soil, or was planted outside its establishment window. Compare the patch with the surrounding lawn after rain and during the hottest part of the day. Repeated patterns usually point back to the site: irrigation coverage, reflected heat, shade, compaction, roots, traffic, drainage, or incompatible turf.
Do not automatically add fertilizer, lime, gypsum, topsoil, or another treatment because a generic tip recommends it. Soil amendments should answer a known condition, ideally supported by a soil test or local guidance. Adding material without a diagnosis can alter grade, bury healthy turf, or create a new imbalance.
When the area cannot support the existing grass, the honest repair may be a different surface. A stepping path can solve permanent traffic. Mulch or a shade-tolerant planting can fit beneath a tree. Drainage work can remove a chronic wet spot. The goal is a durable yard decision, not forcing grass into every square foot.
Common questions
Before you repair the patch
Can I just throw grass seed on a bare spot?
Seed left on debris or sealed soil has poor contact and is easier to dry out or wash away. Diagnose the cause, confirm the seed matches the lawn, clear the patch, lightly loosen the surface, and follow the seed or product directions.
Will surrounding grass fill a bare spot on its own?
Some spreading grasses can fill a small opening during active growth when the soil and site are suitable. Bunch-type grasses generally rely more on reseeding. Identify the grass and correct the reason for the opening before waiting for it to fill.
When is a bare spot too large for a DIY patch?
There is no universal cutoff. Consider the total measured area, slope, grading, erosion, soil replacement, watering access, and whether ordinary tools can prepare the site correctly. Large or technically difficult areas deserve a professional assessment.
Why does grass keep dying in the same place?
Repeated failure often points to a continuing condition such as shade, roots, traffic, compaction, poor drainage, irrigation coverage, reflected heat, pests, disease, or incompatible grass. Recheck the cause before applying another repair.