
The short answer
What to do first
There is no universal Day 0-to-Day 30 appearance for a repaired lawn patch. Day 0 should document the starting condition and preparation; later checks may show no visible change, scattered sprouts, or increasing green growth depending on grass type, temperature, moisture, soil contact, and care. Use dated photos and soil observations to compare the patch with its own baseline, not with a guaranteed calendar.
Use a timeline as a record, not a countdown
A useful timeline answers two questions: what changed at this patch, and were the care conditions recorded well enough to interpret that change? It does not predict the day every seed will germinate or the day a patch will match the established lawn.
Grass species germinate and establish at different rates, and weather can move the process forward or backward. Penn State Extension describes the first four to eight weeks after seeding as a critical establishment period. University of Minnesota Extension likewise advises adjusting watering after germination as roots grow into the soil. Those are care principles, not a promise that every patch follows the same visual schedule.
Photograph from the same position, avoid changing filters or saturation, and write down watering, rainfall, surface moisture, disturbance, and any treatment applied nearby. If those details are missing, label them as not recorded rather than reconstructing them later.
- Compare the patch with its own Day 0 baseline.
- Keep lighting, camera position, and framing as consistent as practical.
- Separate what the image shows from what you think caused it.
Day 0: document the problem and the prepared surface
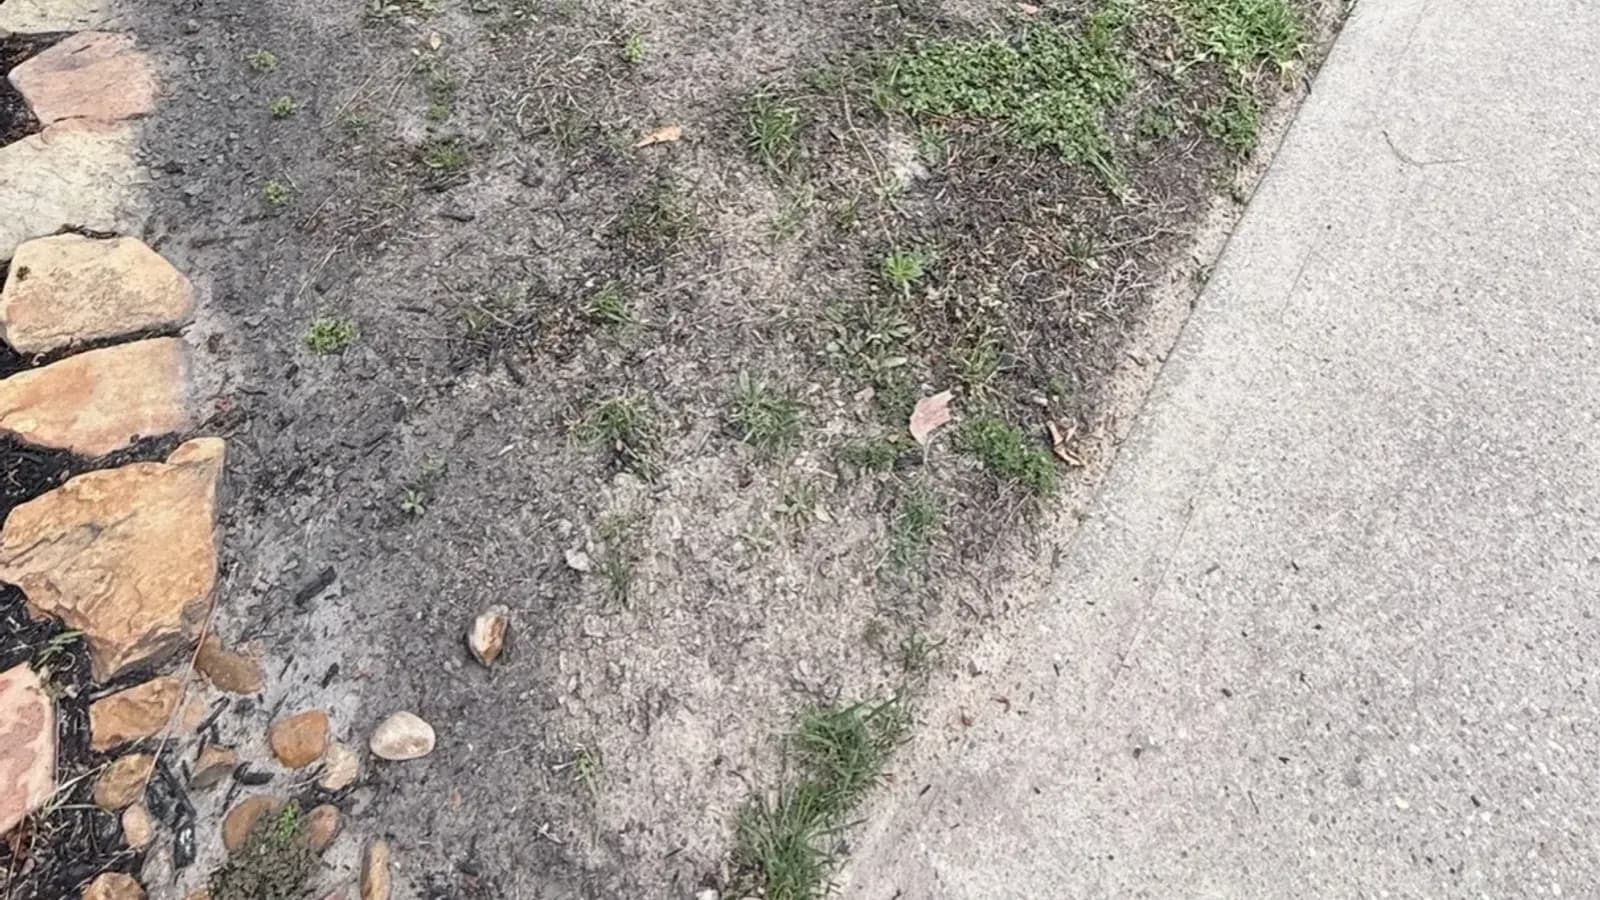
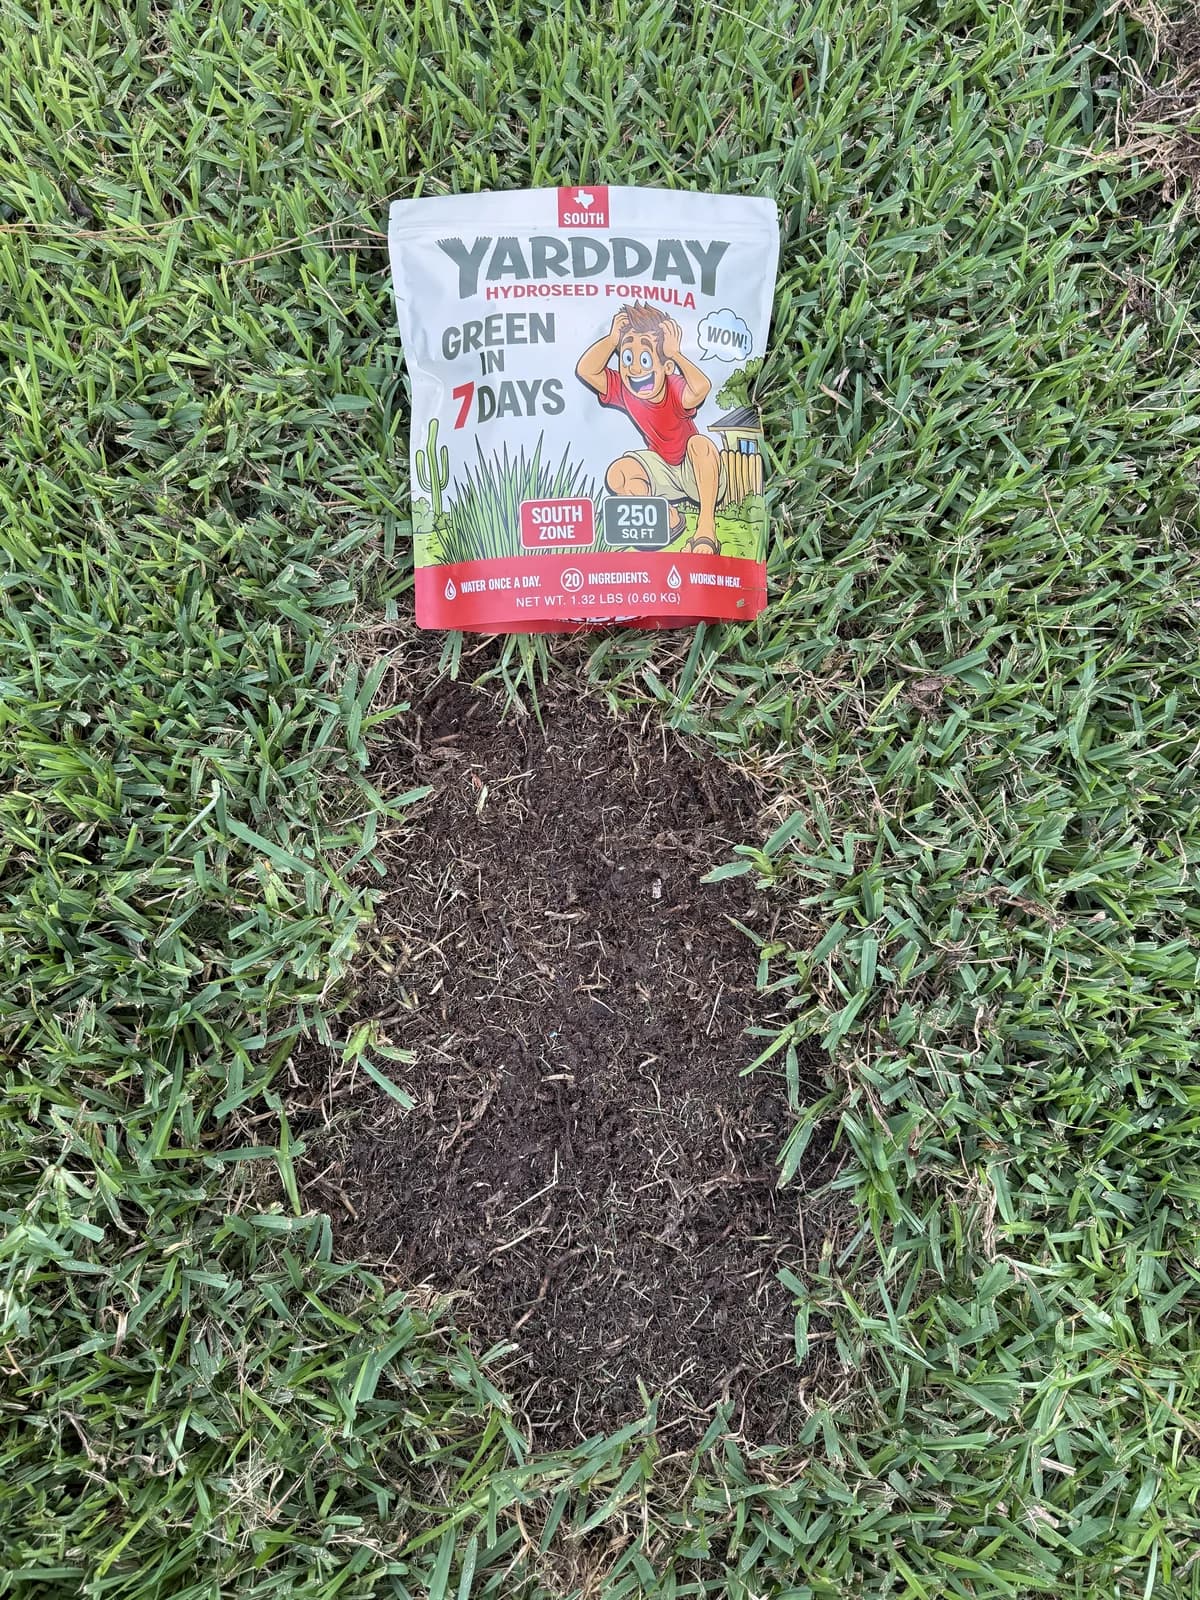
Day 0 should show the patch before work and again after preparation. Record debris, standing water, hard soil, roots, shade, slope, recent chemical use, and the surrounding grass. The prepared image should make it possible to see whether repair material can contact soil.
The real YardDay internal record below began as a debris-covered bare area. The visible debris was removed before the prepared photo. Grass type, weather, soil, patch size, and watering were not recorded in that early test, so the published record does not infer them.
Day 4 to Day 7: look closely before declaring success or failure
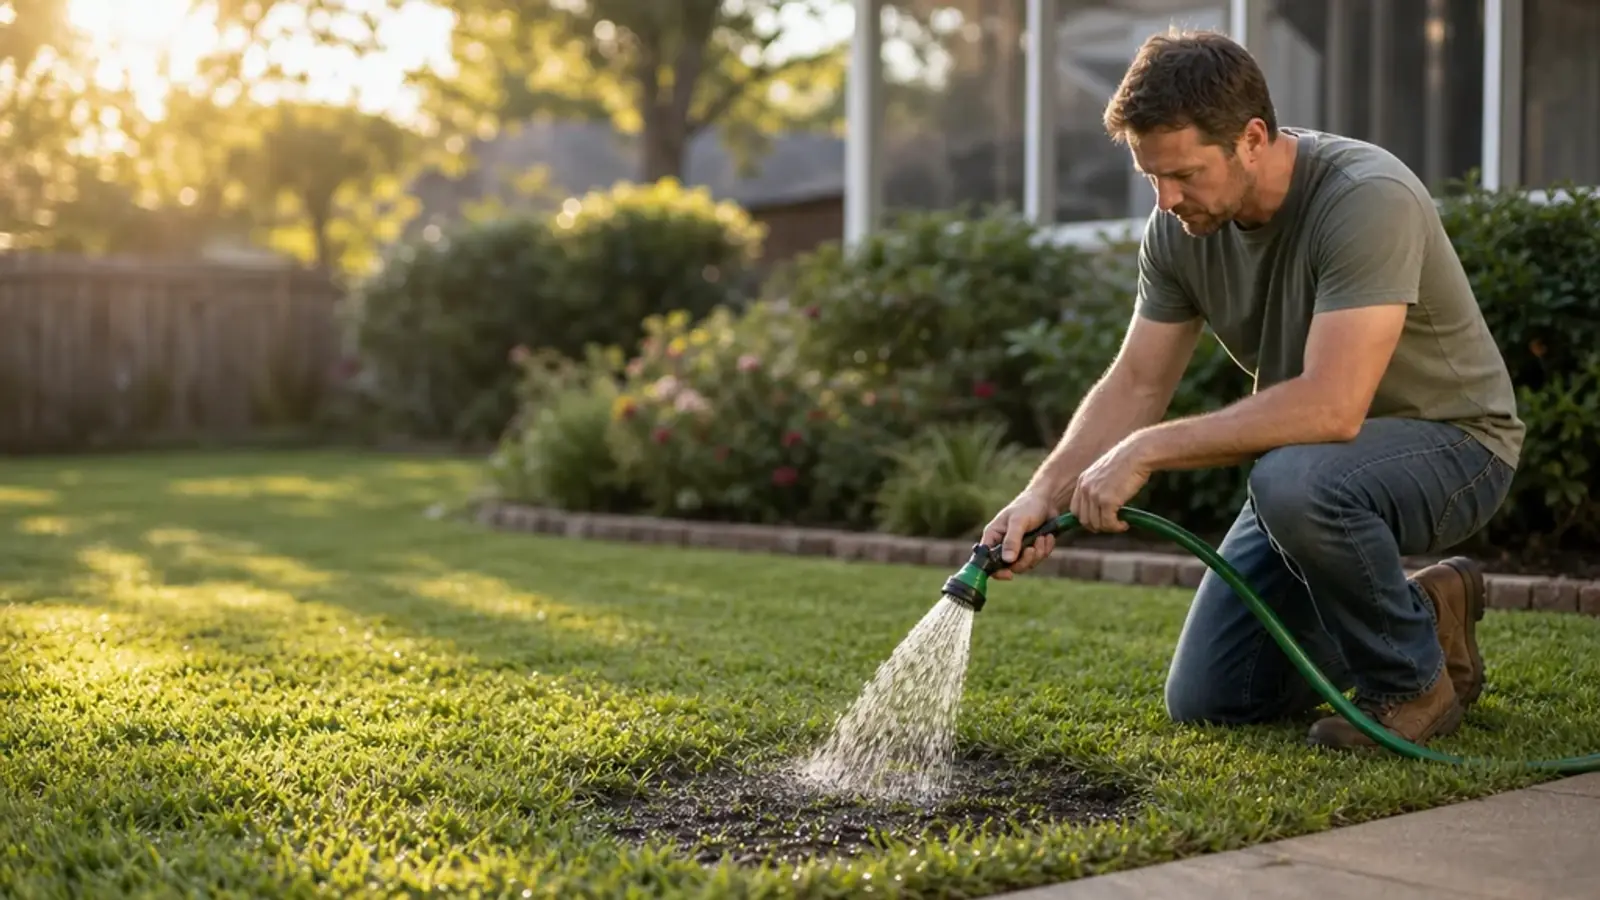
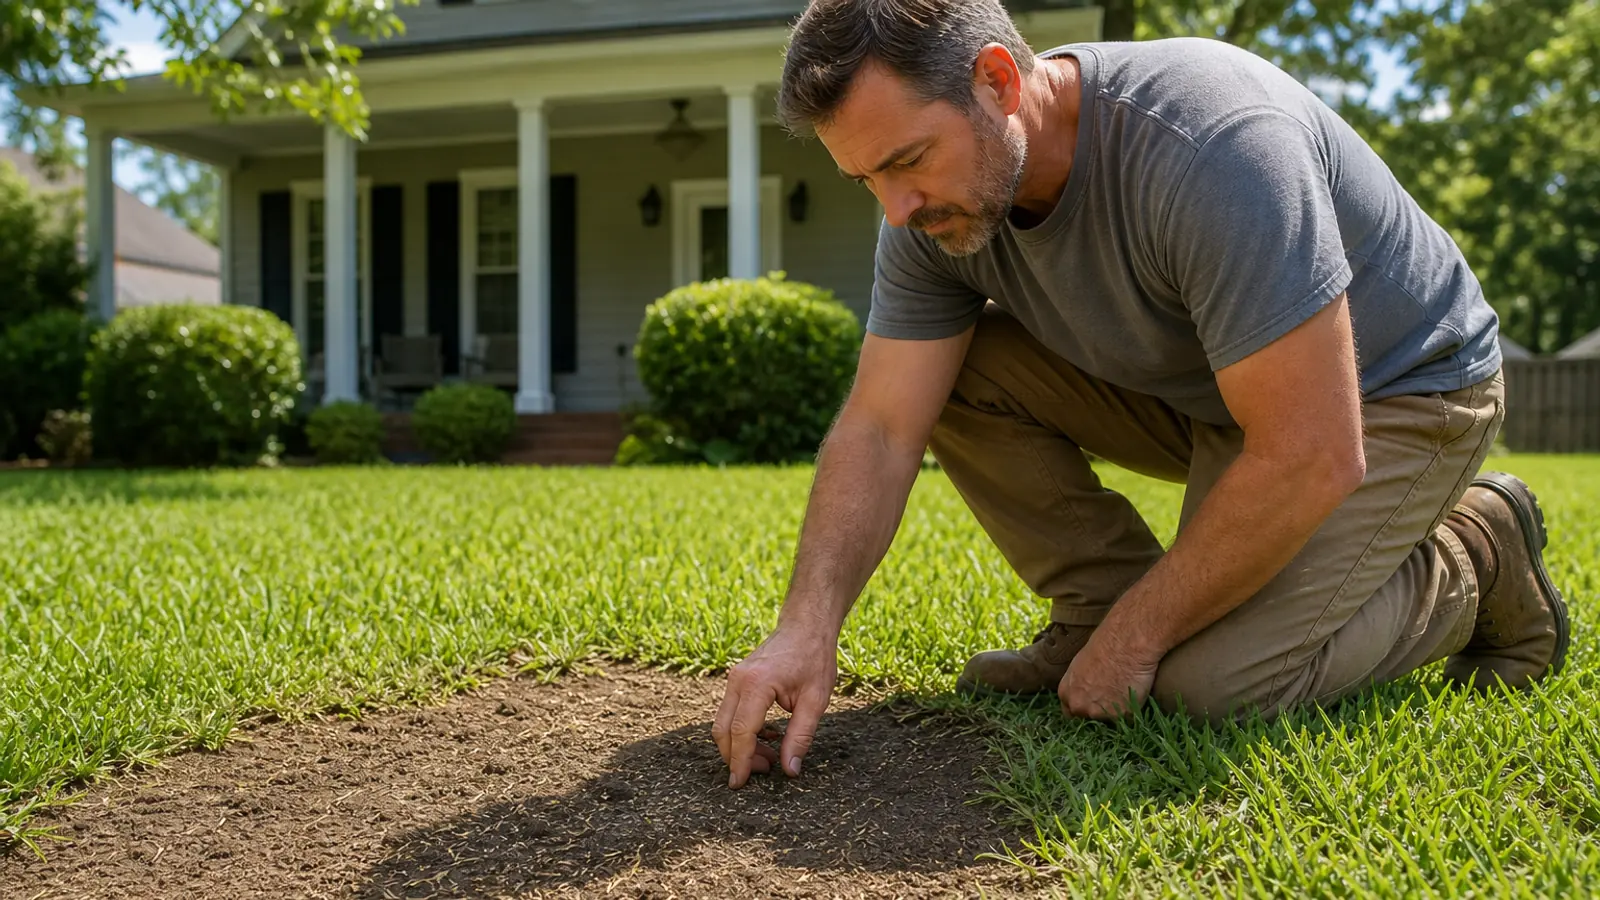
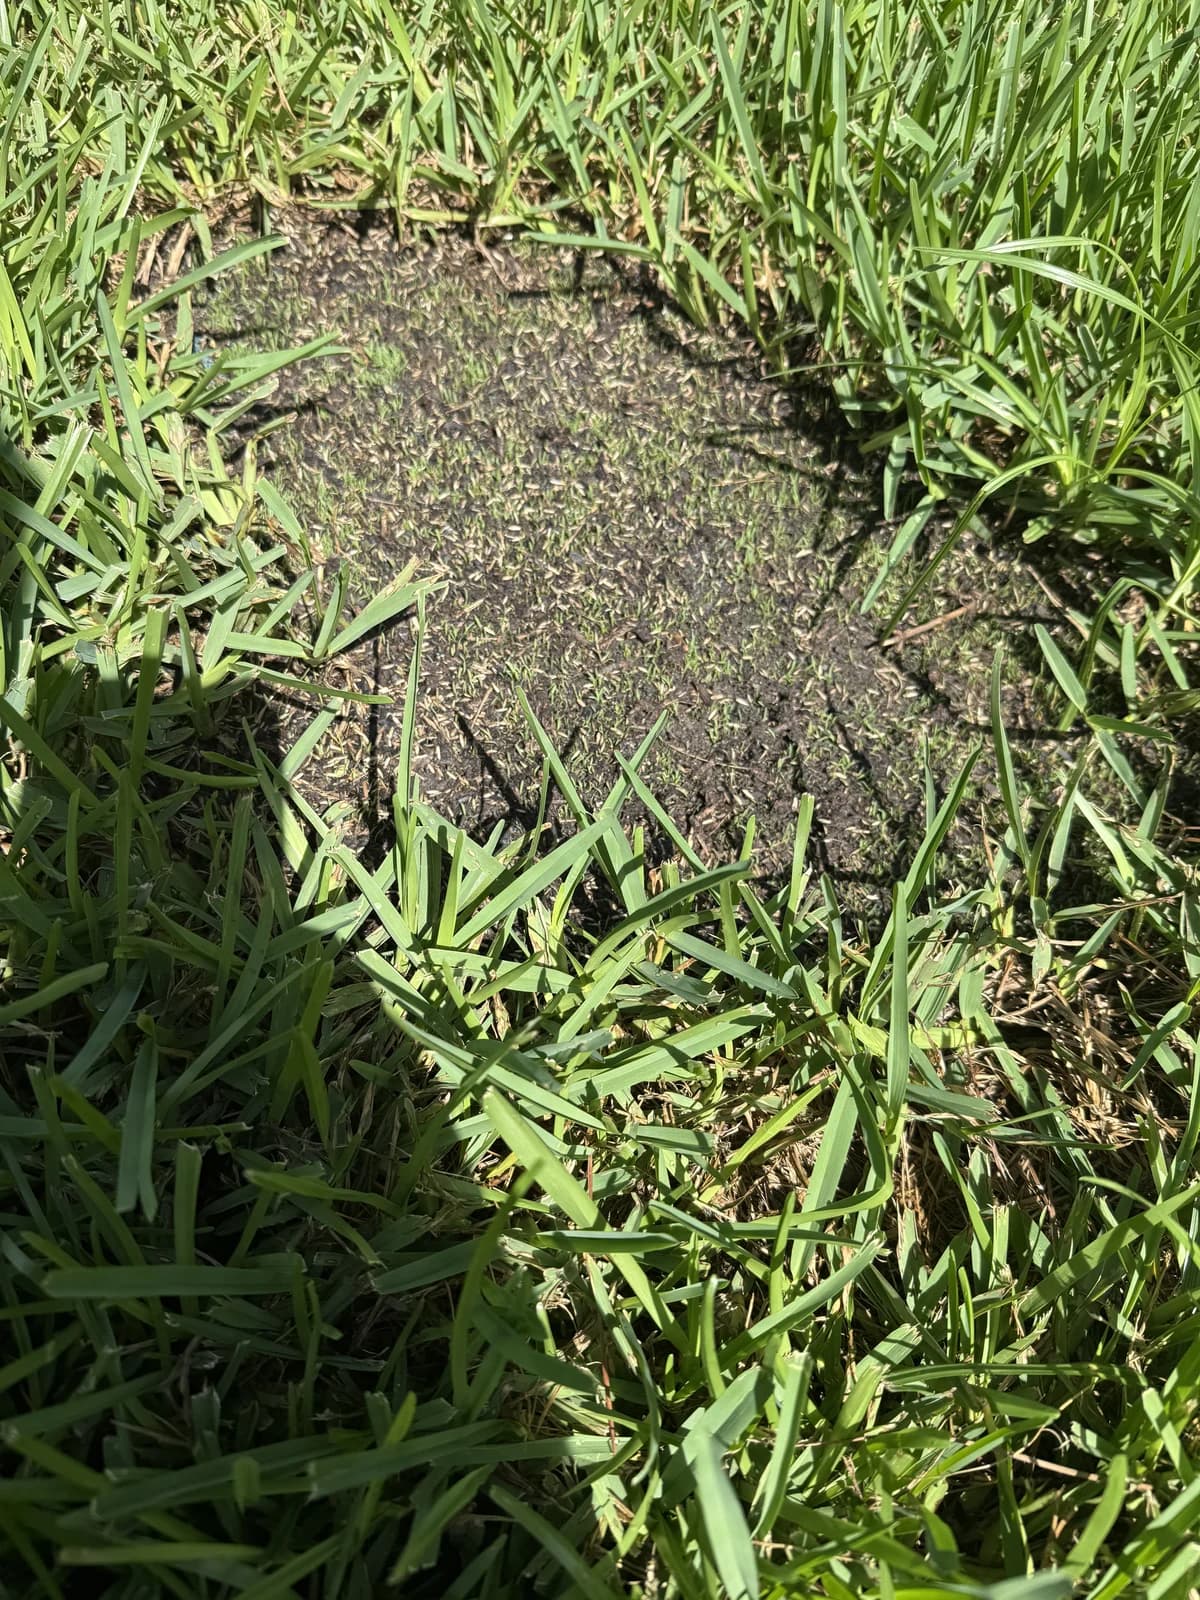
Some compatible seed in favorable conditions may show early sprouts during this window; another valid repair may still show little above the soil. Look at the surface from close range before deciding nothing is happening. Note whether the soil stayed moist, crusted, washed, puddled, or was disturbed by traffic or animals.
This single YardDay internal patch showed early sprouts in its Day 4 photo and visible green growth in its Day 7 photo. That observation supports a description of this record only. It does not show mature turf, complete coverage, or a guaranteed seven-day result.
Day 14: assess direction, density, and unresolved gaps
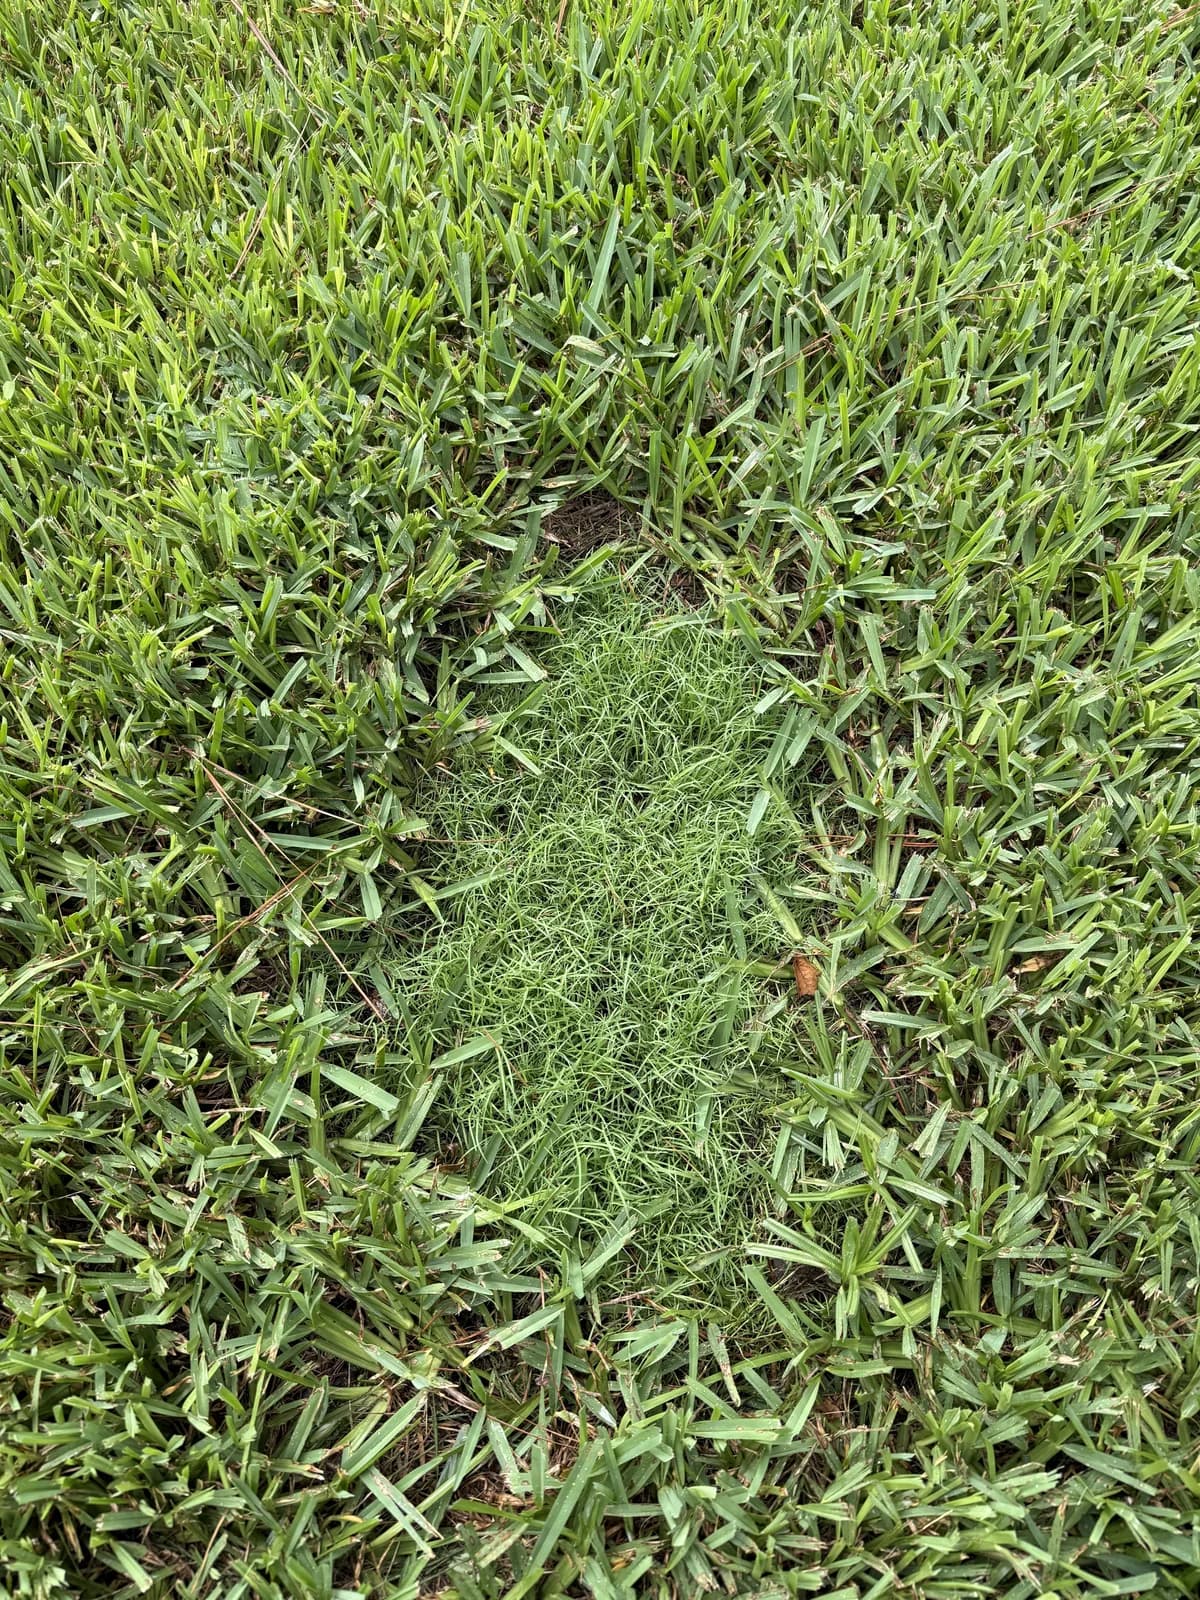
By Day 14, compare the full patch and its edges with Day 0. Record whether growth is scattered or broadly distributed, whether bare channels line up with runoff, and whether shade or traffic creates a repeatable boundary. Continue the product-label care window; do not add extra seed or fertilizer simply because the patch is not visually uniform.
The reviewed YardDay record showed continued green growth on Day 14. The image still represents an establishment stage, not a finished-lawn certificate.
Day 30: decide whether the site is progressing or needs diagnosis
A Day 30 check should record coverage, root hold, traffic tolerance, mowing readiness, and remaining bare areas. The YardDay record used on this page ends at Day 14, so it cannot supply a Day 30 outcome. That missing stage is disclosed rather than filled with generated imagery or a borrowed result.
Penn State recommends waiting to mow until new turf can tolerate the mower and the grass is no more than one-third above the desired cutting height. If seedlings do not spring upright after light foot pressure, they may not yet tolerate mowing.
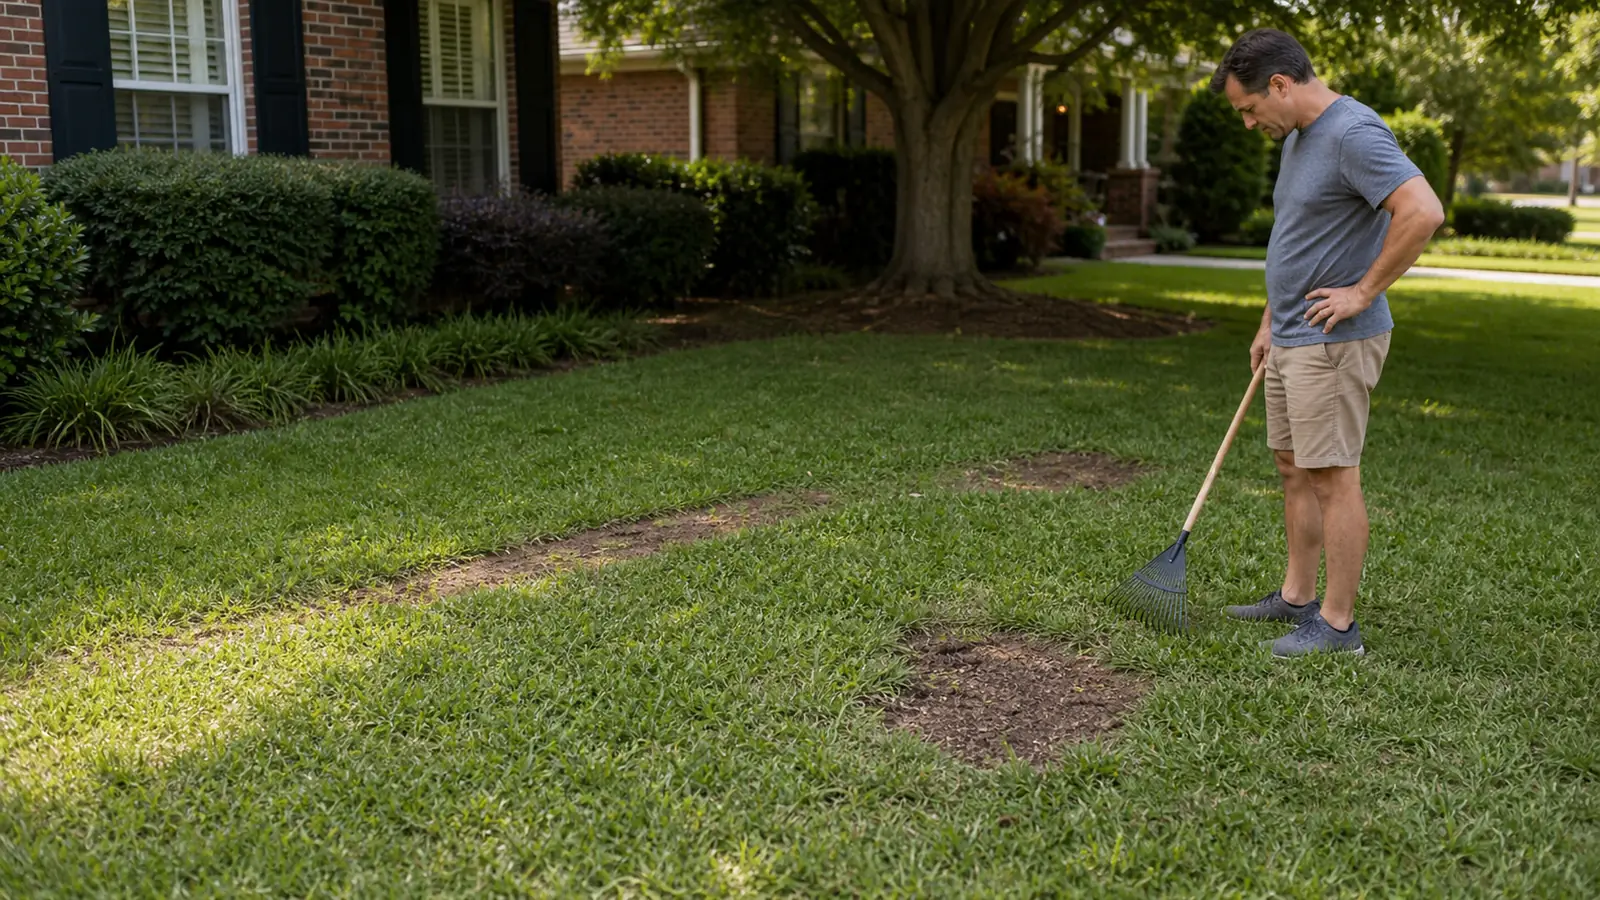
Stop repeating seed when the damaged area is expanding, the soil remains saturated, material repeatedly washes away, a chemical injury is possible, or growth follows an unexplained ring or spreading edge. Those patterns need diagnosis before another repair attempt.
- Continue care according to the product label and grass type.
- Keep traffic off seedlings that do not recover after being lightly stepped on.
- Escalate expanding, recurring, waterlogged, or chemically injured patches.
Common questions
Before you repair the patch
Should every lawn patch show sprouts by Day 4?
No. Germination timing varies with grass type, temperature, moisture, seed-to-soil contact, and other site conditions. Day 4 sprouts describe one reviewed YardDay record, not a universal deadline.
Does green growth on Day 7 mean the patch is repaired?
No. Visible green is an early observation. It does not prove mature roots, complete density, traffic tolerance, or a finished repair. Continue label-directed care and documentation.
What if my patch still looks bare on Day 14?
Check the grass type, temperature, soil moisture, seed movement, shade, drainage, traffic, and recent treatments. If the patch is expanding or repeatedly failing, pause reseeding and diagnose the cause.
Why is there no YardDay Day 30 photo on this page?
The reviewed internal record shown here ends at Day 14. YardDay does not use generated or unrelated imagery to fill an unrecorded proof stage.